How To Load ROMs From A USB Storage Device With RetroPie
So, you have your retro gaming machine all setup. RetroPie is installed on your Raspberry Pi and you have downloaded all the ROMs you’ll ever need. The problem you now have is that all those ROMs combined together actually take up a rather substantial amount of storage space. Yes, you have in your possession a pretty meaty micro SD card which can hold a fantastic amount of games, but even that is beginning to overflow.
So what happens if you find more ROMs that you want to add to your collection? With no room left on your micro SD card will you be forced to let them just pass you by? There is actually an alternative and this is to store and load your ROMs from an external USB device. As well as having the capability of holding terabytes worth of ROM fuelled data, loading your retro games from an external drive carries with it a number of other advantages.
But how do you go about configuring your setup so that you can access all these stored ROMs? The process is surprisingly simple, however there are a few necessary steps that you need to follow in order to avoid pulling your hair out in frustration. All these steps are outlined later in this article. You can click on the links below to skip to them if you prefer. If you’re still not convinced however, let’s look at why you would want to switch from your teeny tiny micro sd card to an all powerful external USB storage device.
- Step 1 – Formatting your USB drive
- Step 2 – Configuring RetroPie
- Step 3 – Setting up your storage device
- Step 4 – Connecting your USB storage device
- Step 5 – Check device
What Are The Advantages To Storing Your ROMS On An External Storage Device?
The most obvious advantage to using a USB device to store and access your retro games is the extra storage capacity that it makes available to you. However there are a number of other advantages which are worth mentioning as well. Below is a list of all the advantages the USB option offers you.
Expense
In general the cost of a USB storage device is less than an equivalent sized micro SD card. So you can allocate your limited funds to more exciting accessories like controllers and Raspberry Pi cases.
Capacity
As mentioned above this is generally the reason most people switch to USB devices when it comes to storing their ROMs. It is true that the size of micro SD cards is slowly catching up with that of the USB storage devices, however at the time of writing this article you will be hard stretched to find a micro SD card higher than 500GB. If your interests lie in the games of the CD based machines such as the Sony Playstation and Sega Dreamcast, then it is entirely plausible that you will acquire enough ROMs to take up way over 1TBs worth of space.
Straightforward ROM transfer
Remove your USB drive, plug it in to your PC and copy and paste your new ROM files into the correct folder. Then stick it back into your Pi and restart and you have your newly installed games waiting for you. What could be simpler than that?
Data transfer speed
Another generalisation here, but USB transfer rates are usually a lot higher than micro SD cards, especially if your USB device is connected through a USB 3.0 port. Trust me, you’ll be thankful for the increased speed when you have over 750GB worth of files to transfer.
Reliability
Have you ever experienced a USB storage device becoming corrupted? Ok, well maybe you have, but rest assured the failure rate of a USB drive is significantly less than that of a micro SD card.
Compatibility
When it comes to micro SD cards there is a significant number of models which have been found to be incompatible with the Raspberry Pi. As far as USB devices go this situation is pretty much unheard of.
Separation of data
Not least as a result of the reliability issues mentioned above, it is wise to keep your valuable collection of ROMs on a device separate to the micro SD card storing the operating system and RetroPie. As well as the risk of corruption, you may need to update the OS or RetroPie at some point, which can increase the risk of lost data, among other things.
What Type Of Device Should I Use To Store My ROMs?
There are a number of options available to you when it comes to making the decision on what type of USB storage device you go for. Retro Games Addict actually has a page devoted to our favourite ones if you’re interested? The main factor that will influence your decision more than anything else will likely be storage capacity. Regardless of the reasons for arriving at your final decision, your choice will basically be between the following:
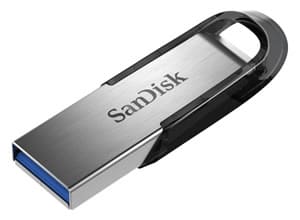
- A memory stick
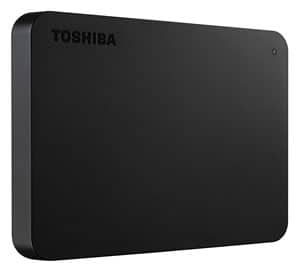
- An external hard drive
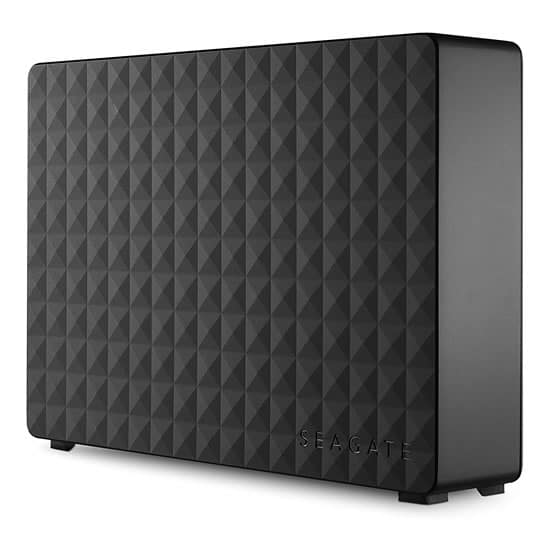
- An external hard drive with its own power supply
If you aren’t looking to acquire any more storage space than 512GB then your best option would be to go with a memory stick. They are cheap and don’t take up much physical space. They are also incredibly reliable so you shouldn’t have to worry about lost ROMs.
Anything over the 512GB mark and you should start thinking about an external hard drive. Ranging in size from a poultry 256GB (you may even be able to find lower) to an impressive 5TB (possibly more if you willing to fork out fistfuls of your hard earned cash) these wallet sized miracles are the computer worlds equivalent to Dr Who’s tardis.
5TB of storage still not enough for you? In that case your only option would be to go for a powered external hard drive. These power sucking bad boys can reach up to 16TB in capacity (again you may be able to find bigger) however that amount of storage does not come cheap and connecting one up would be like hooking your perfectly sized retro gaming machine up to a small PC… These things don’t come in small packages. But hey, if you need the extra storage space, then you need the extra storage space.
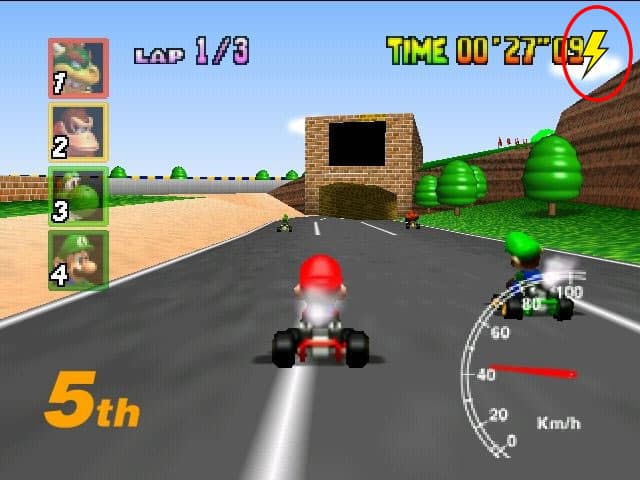
Now, it has been suggested in the past that the Raspberry Pi would struggle to power both itself and a large USB powered external hard drive if the two were used together. It is true that all versions of the Raspberry Pi like to binge drink on the available voltage, however I have never encountered any issues when it comes to low power supply. Some symptoms related to undervoltage issues which you should look out for include, general instability, random system crashing or a lighting bolt or thermometer icon appearing in the top right of the screen.
If this is a concern then my advice would be, if you have a powered external hard drive lying around you may as well go with that just in case. However I would suggest that if you don’t have one going spare then just go with an external hard drive which is powered through the USB port. If worst comes to the worst and you do experience power issues, you can always consider the option in the tip below.
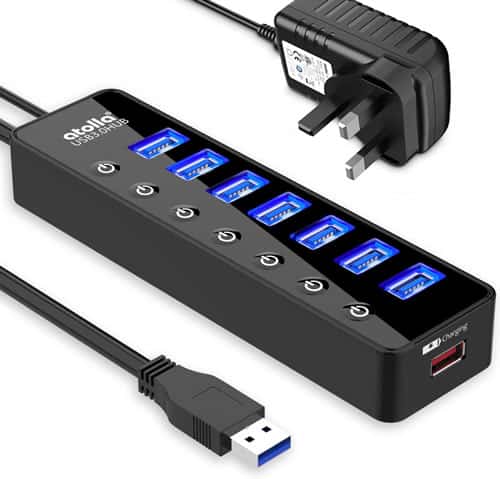
A great alternative to using a powered external hard drive would be to stick with your basic USB powered external hard drive, but power it through a powered USB hub. This will provide your external hard drive with more than enough power and also make several more USB ports available to you. Added to this powered USB hubs are extremely cheap especially when compared to external hard drives. A win, win scenario right there me thinks!
Setting Up RetroPie To Load ROMs From An External Storage Device
So, you have decided on which type of device is best suited to your needs. Now you’re ready to configure RetroPie so that it accesses your ROMs from your USB storage device.
Step 1 – Format your USB device
First off, you need to make sure your USB storage device is empty and formatted to FAT32. The best way to do this is to kill two birds with one stone and reformat the device.
Warning: Formatting your storage device will automatically delete all of the content on the drive with no way of recovering it. Before you format your drive make sure that you backup any data contained on your storage device that you do not want to lose.
If you are formatting a flash drive that is less than 32GB then the process is very simple. Using a Windows PC simply go into My Computer/This PC and right click on the drive you want to format. From the dropdown menu click on the ‘Format…’ option which will open the Format window. Here you will see a number of stats about your selected storage device. The main one you need to pay attention to is the File system dropdown menu. Make sure this is set to FAT32. If you like you can rename your storage device to something you would recognise but this is entirely optional. From there click the Start button at the bottom of the window and watch Windows reformat your storage device. The process should not take longer than a minute or so.
If you are wanting to format a storage device that is larger than 32GB the process is slightly more complicated.
While attempting to format my own external USB hard drive I found a method that was suggested a number of times was to format the drive through the Windows Command Prompt interface or through Powershell. I tried both methods and on both occasions after a 3 hour wait, a popup message appeared stating that the process had failed. Save yourself some time and trouble and don’t even bother attempting to format your device using these methods
Also a number of sources I researched suggested I use a program called FAT32 Format to reformat my drive. This method may have worked in the past however regardless of which link I clicked on and whatever site I visited, every attempt I made to download the application failed.
If you attempt to format your 64GB plus USB storage device using the method above you will notice that there is no option to format the device to the FAT32 specifications. This is because the default Windows format option only allows the FAT32 partition on drives that are 32GB or less. This being the case the only way to format your drive would be for you to download an external application.
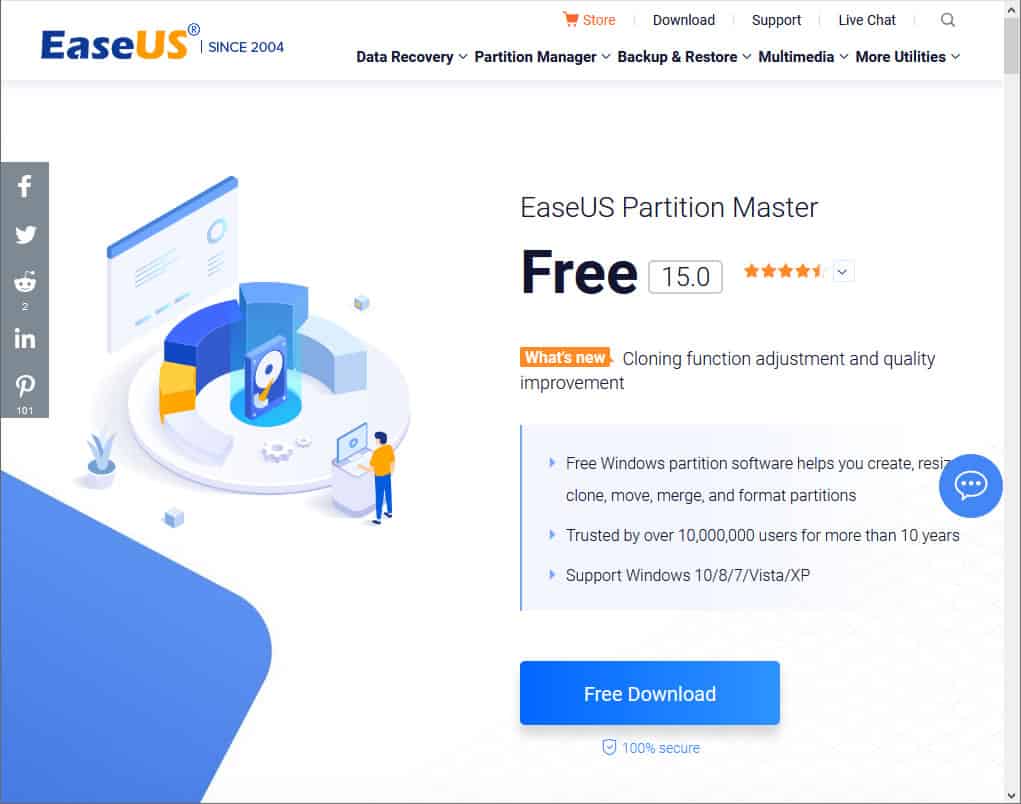
There are a number of applications that are capable of formatting your device. The one I have found to be the quickest and easiest to use is EaseUS Partition Master and you’ll be happy to know that it is free to download from the EaseUS website.
Once you have downloaded and installed the application the process of formatting your drive is very simple. When EaseUS Partition Master first starts up you are presented with a list of the disk drives available on your system (make sure the device you want to format is plugged into your PC).
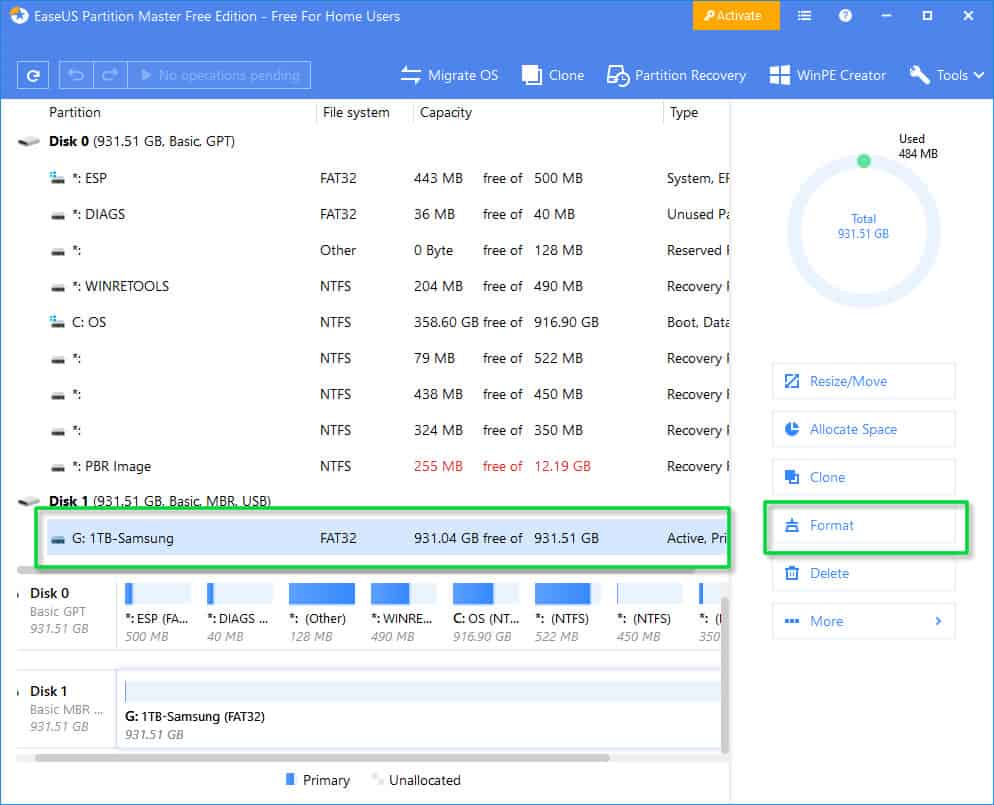
On this screen select the drive that you would like to format and then click the Format button on the right side of the screen.
Warning: I know I mentioned this earlier but it is definitely worth repeating. Formatting your drive will permanently delete any data you had stored on there, so make sure you have backed up any information that you do not want to lose.
You will then be presented with a popup window where you can configure your format settings. Basically the only field that you need to be concerned with in this window is the File system drop down field. Make sure that this is set to FAT32 and then click on the OK button.
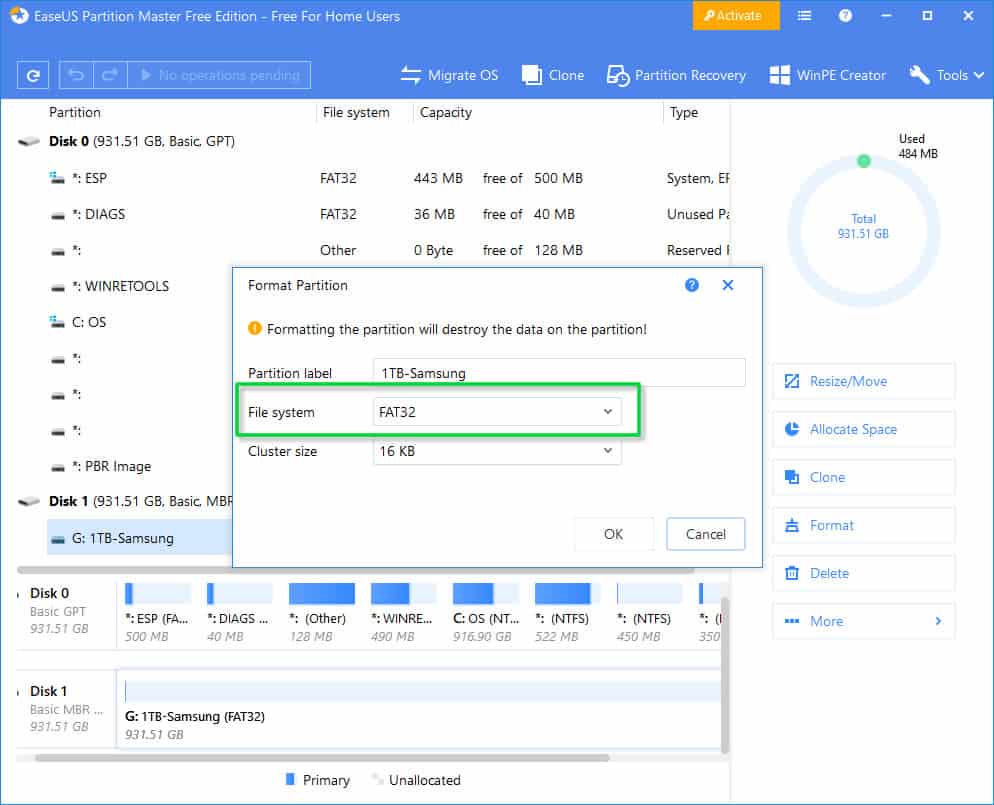
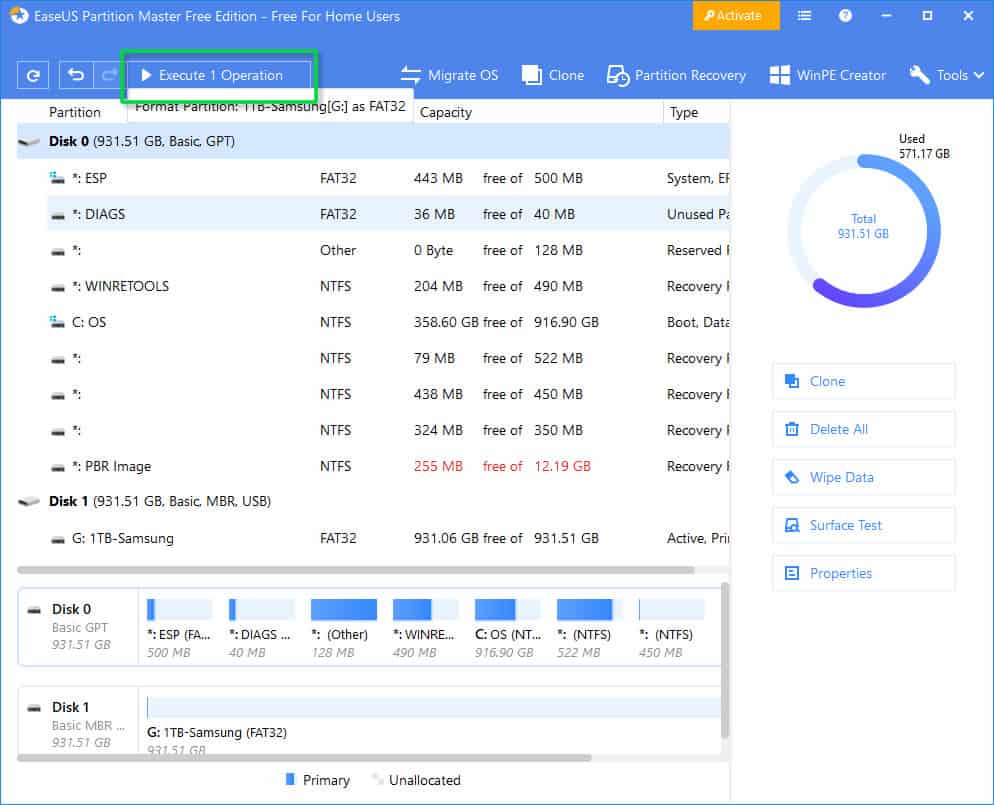
You will then see an alert notifying you that any data on your drive will be erased upon formatting. When you are happy click OK, then click on the Execute 1 Operation button in the top left of the screen. A popup window will outline a summary of the operation. Click on Apply and EaseUS will go ahead and format your drive.
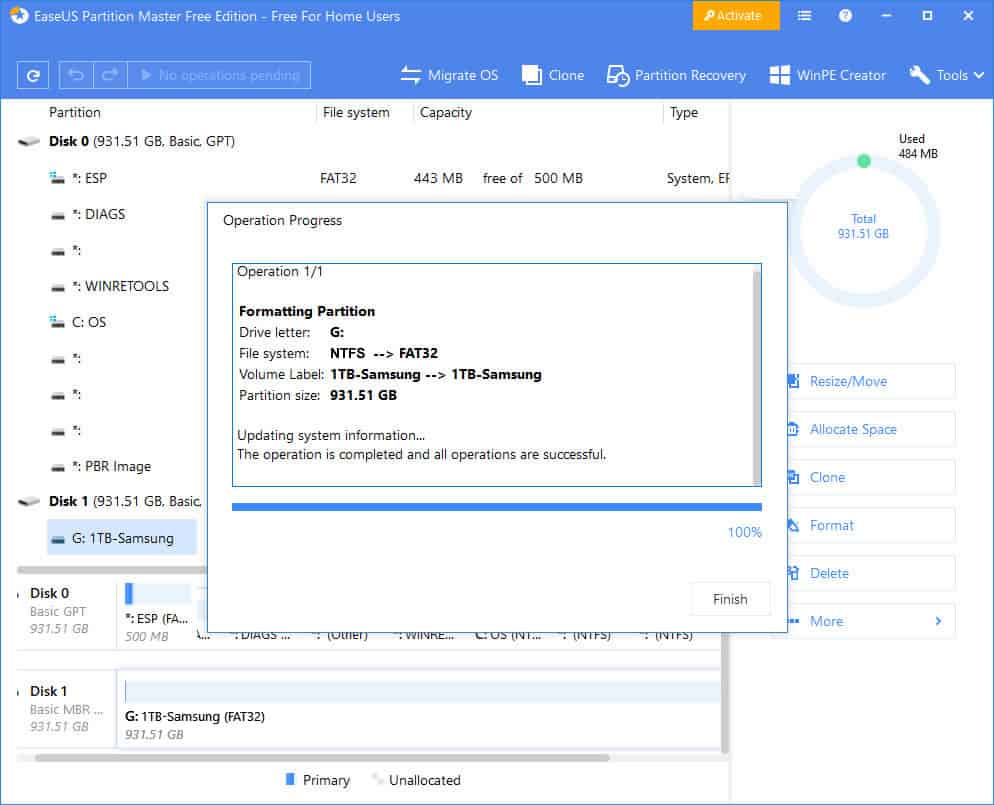
This process shouldn’t take more than a few seconds. Once you see the completed screen you are ready to configure RetroPie to load ROMs from your USB storage device.
Step 2 – Configuring RetroPie
Now that you have your USB storage device formatted you are ready to make the necessary amendments to RetroPie. Go ahead and start up your retro games device running RetroPie and wait until everything has booted up.
Before starting this process it is recommended that you make sure you are running the most up to date version of RetroPie on your machine. At the time of writing the most recent version is 4.7.1. If you need more information on this take a look at the Retro Games Addict article on backing up and updating RetroPie.
Once RetroPie has booted up go to the Configuration screen and select RetroPie Setup. You will then be taken to a ‘backend’ menu which is where you can access some of the more technical areas of RetroPie. Don’t worry though, these next few steps are very simple.
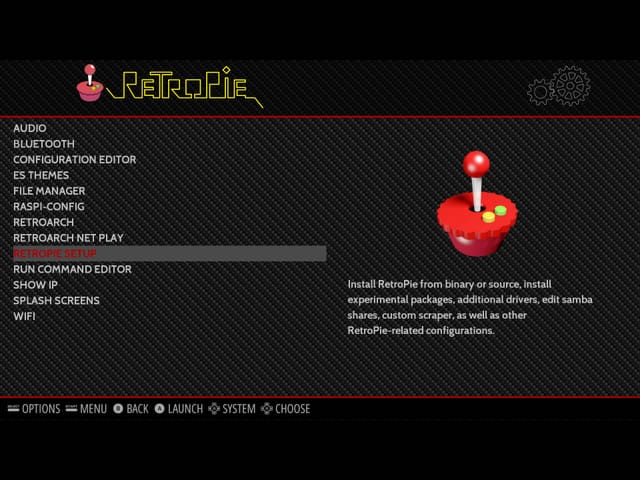
In the menu select the Configuration / tools option and then in the next menu select ‘usbromservice – USB ROM Service’, which can be found towards the bottom of the list. In the next screen you should then select Enable USB ROM Service scripts. This will ensure that all the ROMs that are currently on your micro SD card will be copied to your USB drive when you first connect it up.
Once you have completed this you are done with the RetroPie backend menu section. Told you it was simple, didn’t I? Now all you need to do is select the Cancel > Back > Exit options in the footers of their respective screens and you will be returned to the RetroPie user interface.
Step 3 – Setting Up Your USB Storage Device
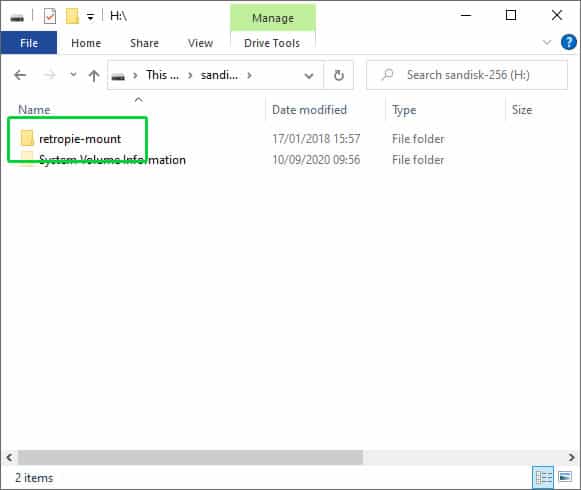
OK. USB drive formatted? Check! RetroPie configured? Check! The final step that remains for you to do is to set up your storage device. Simply connect your drive up to a PC and navigate to it through File Explorer. Once you are there all you need to do is add a new folder to the root by right clicking on the main window, move your mouse over the ‘New’ menu item and then selecting Folder.
Once your new folder has been created name it retropie-mount. Make sure you name it correctly as just stated, no spaces, all lowercase with a hyphen between ‘retropie’ and ‘mount’.
Step 4 – Connect Up Your Storage Device
That’s it! You’re done! All you need to do now is plug your drive into one of the 4 USB ports on your Raspberry Pi and boot it up.
If you’re using a Raspberry Pi 4 as your retro gaming machine it would be a good idea to plug your USB storage device into one of the two USB 3.0 ports (that’s the ports with the blue tab inside). USB 3.0 ports offer a faster rate of data transfer so it is likely that your ROMs will be transferred across in a lot less time.
Upon start up, RetroPie will automatically copy any ROMs and associated data that currently exists on the micro SD card over to your USB drive. Depending on how much data you have stored on your micro SD card this process can take anything from as little as a few seconds to as long as a number of hours.
If possible it is useful to use a USB drive that has an ‘activity’ LED (that is a light that flashes when a data transfer is taking place) on it so that you can tell when the copying process has run its course. If you disconnect your USB drive or shut down your system before the transfer has fully completed then you may end up corrupting the data on your USB device. Only disconnect your drive once the activity LED has stopped blinking.
Step 5 – Check Your New Storage Device
As the ROMs are copied from the micro SD card and not removed, then you can only find out if the ROM transfer has worked by checking your USB drive on your PC. Plug your USB drive into your PC, navigate to it with File Explorer and open the retropie-mount folder. If the transfer has been successful the retropie-mount folder will now contain a number of other folders including roms and BIOS. Any ROMs that you have on your micro SD card should now appear in the ROMs folder. When you are satisfied that all your data has been copied across successfully you can go ahead and remove them from your micro SD card.
Thinking you no longer need your micro SD card? Think again! Your micro SD card will still contain the operating system for the Raspberry Pi as well as the RetroPie application itself, so don’t even think about throwing it away. On the plus side the amount of memory needed on your micro SD card to store said programs is now pretty small. In fact a card as small as 8GB should do the job.
From now on if you want to add any more ROMs to your retro gaming setup then you can add them to your USB storage device. Job done!
